

A Guide to Authorize.net Virtual Point of Sale (VPOS)
Posted: August 17, 2022 | Updated:
Virtual point-of-sale systems have become a popular choice among merchants that want to set up their own payment systems without the need for dedicated hardware. If you are a user of Authorize.net’s payment gateway, you get free access to a virtual terminal that you can set up on virtually any PC, provided that it’s windows based. But how does their virtual terminal work? Read on to find out.
In this article, we’ll give you a quick overview of what a virtual point of sale system is, how Authorize.net virtual POS works, and how to process payments through their virtual terminal.
What Is a Virtual Point of Sale System?
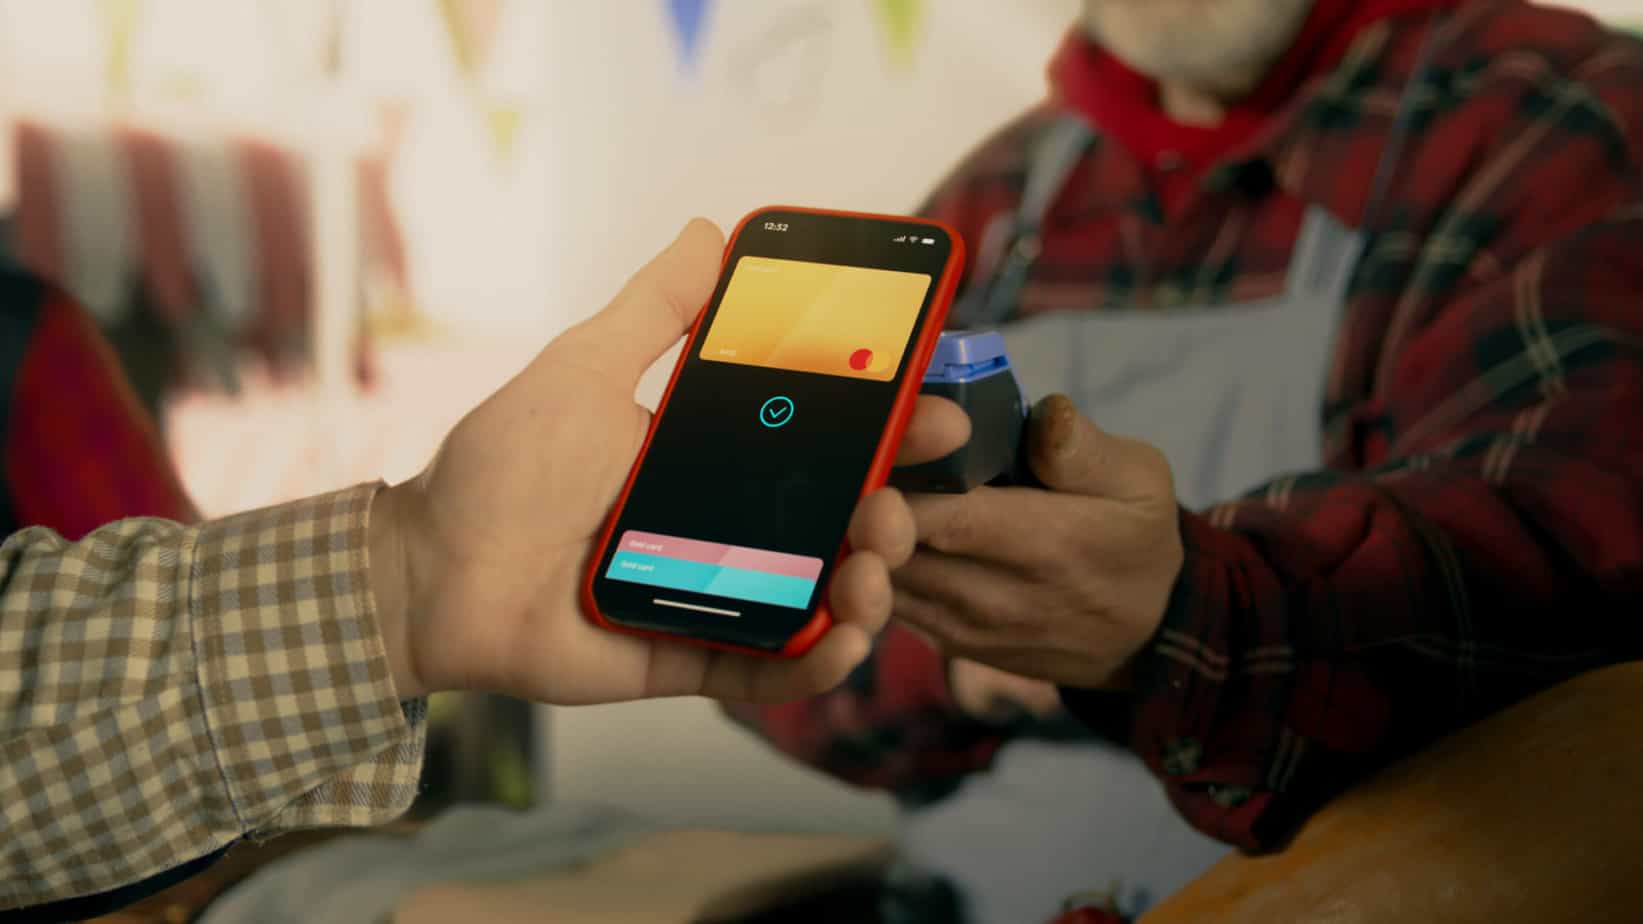
Virtual Points of Sale (POS) terminals are typically online or desktop-based applications that allow card-accepting merchants to manually authorize card transactions. Merchants and other service providers can use this solution to process credit and debit card transactions without requiring the customer to directly enter their information.
Merchants access their accounts to manage the process via a dashboard that is inaccessible to customers. The costs of virtual POS terminals vary depending on the business models and features chosen by the merchant when requesting the service.
Scaling up your business with virtual POS comes with the following benefits:
- Setup that’s quick and easy so you can keep moving
- No hardware or software fees
- Integration with your existing POS system
- Payment options that are flexible and secure
How Does Authorize.net Virtual Terminal Work?
With Authorize.net’s Virtual Terminal, you can manually submit Credit Card or eCheck transactions via a PC or Laptop to the Authorize.Net Gateway. AuthorizeNet also offers a free mobile app for iOS and Android that allows you to manually submit credit card transactions with a phone.
All you need is a card reader and a browser. You can also use a receipt printer or your existing desktop printer to print receipts.
This service is available to all Authorize.net merchants at no additional cost. After installing VPOS on your PC, you will only need a card reader and the downloaded software to accept in-person credit card payments.
Minimum Requirements
The Virtual POS is available only for Windows 7, 8, and 10, either on a computer or a Microsoft Surface tablet. Additionally, you’ll need an updated version of Google Chrome, Firefox (v50+), or Edge (v15+).
Benefits of Authorize.net’s VPOS Terminal
Among the many benefits of Authorize.net’s virtual POS, you can find the following:
Quickly turn your computer or phone into a point-of-sale terminal: Authorize.net VPOS allows you to easily and quickly turn a compatible device into a virtual POS in just a few minutes.
Accept transactions through the phone, via email, or even by mail: You can accept payments from virtually anywhere using the virtual terminal, including most card-not-present transactions.
- Compatibility with the latest printers: the VPOS is compatible with any standard laser or inkjet printer, though Authorize.net recommends using Star or Epson connected via USB or Bluetooth.
- Streamlines risk management: All the sensitive data is stored in Authorize.net’s PCI-compliant data center, not on your computer.
- You have more control over your POS system: You can control which devices have access to the system from the app through the Authorize.net Merchant Interface.
- USB and Bluetooth readers are compatible: Use a USB or Bluetooth card reader for in-person transactions.
- You can email or print receipts: You can send your customers a receipt via email or print one if you have a printer setup. Authorize.net supports the Star AllReceipts digital receipt solution.
- Free with an Authorize.net account: the virtual terminal service is included at no additional cost for Authorize.net users.
How to Process a Payment Using Authorize.Net Virtual Terminal in 5 Steps
For in-person payments, you don’t need to do much other than use the reader to process the payment. For card-not-present transactions, on the other hand, you must fill out a few fields on the merchant interface in order to get started.
Here are the steps you need to follow in order to process payments using the virtual terminal:
Step 1: Log onto your Authorize.Net Account
Log onto the Authorize.Net merchant account with your username and password, then go to the tools section on the upper menu, then select Virtual Terminal from the left side menu.
Step 2: Choose a Payment Method
You will have four options to choose from for the payment transaction:
- Charge a customer’s credit card: This is the default payment option. The option allows you to charge a specific amount to the customer’s credit card. These transactions require the full credit card number, expiration date, and amount.
- Credit Card Refund: Select this option to process a refund for a previously processed payment to a credit card. A refund requires the gateway-assigned transaction ID of the original transaction, as well as the credit card number and amount. The refund can’t exceed the amount of the original transaction.
- Debit a Bank Account: Similar to the credit card option above, this will allow you to process payments using a customer’s bank account. For debit transactions, routing and account numbers are required. Additionally, these transactions need to include the account type (Checking or Savings) and the account holder’s name (company or individual name on file at the bank). While these fields are optional, Authorize.net recommends that you use them as well.
- Refund a Bank Account: Similar to the refund option for credit cards, you can choose this to return funds to a customer’s bank account. A refund requires the original transaction ID assigned by the gateway, the routing number, the bank account number, and the amount. For the bank account number, you can enter the masked numbers, such as 1234, or the entire number provided to you by the customer. The Payment Gateway will verify that the original transaction ID provided exists and that it is eligible for a refund. Additionally, the Payment Gateway will verify that the bank account number entered is the same as the one from the original transaction. A refund cannot exceed the amount of the original transaction. In the case of multiple refunds for the same transaction, the total still cannot exceed the original amount.
The latter two are only available to you if your account is approved to accept eCheck transactions.
Step 3: Choose a Transaction Type (when Processing a Credit Card Payment)
You’ll have to select the type of transaction if you choose to charge a customer’s credit card. Choose one of the following:
- Authorize and Capture: These transactions will be authorized and submitted automatically for settlement. Authorize and capture transactions are the default option.
- Authorize Only: A transaction of this type is authorized but is not automatically submitted for settlement. A capture action must be performed on these transactions before they become Authorized/Pending Capture. After a capture action has been performed, the transactions are submitted for settlement. Uncaptured transactions expire in 30 days.
- Capture Only: This transaction has been authorized outside the Payment Gateway. You will need an authorization code for this option.
Step 4: Enter the Transaction Information
Your account settings will determine the fields that you see and have to fill out. Fields marked with an asterisk (*) are required fields. To submit the transaction, you must provide a valid value for all required fields. The remaining fields are optional. Depending on your Virtual Terminal settings located at the bottom of the page, you may also see additional or fewer fields on this page.
Below is an overview of the most common fields within Virtual Terminal:
Payment/Authorization Information
The payment method and authorization of the transaction are covered in this section. Among the fields here are:
- Credit Card Number
- Card Expiration Date
- Amount to be charged
- Card Security Code
If you choose to debit a payment from a bank account instead, you’ll get the following fields:
- ABA Routing Number
- Bank Account Number
- Bank Account Type
- Bank Name
Order Information
In this section, you can enter specific information about an order or invoice. Here, you can enter Invoice Numbers and Descriptions.
Customer Billing Information
Here you will enter the customer’s billing details, which include:
- The customer’s ID
- Their first and last name
- The company they work for
- The customer’s address
- The customer’s country, city, state/province, and zip code.
- The customer’s phone number, fax number, and email address
Shipping Information
If the transaction requires shipping information, you can enter it here. This section shares the same fields as the billing information section above. You can check the box labeled “Same as billing information” if the shipping and billing information details of the customer are the same.
Additional Details
Tax, Freight, and Duty Amounts, Tax Exempt status, and a Purchase Order Number can all be added here for the transaction. This information is usually entered to support Level 2 Data requirements for purchase cards.
Step 5: Click Submit or Reset the Form
After you have completed the payment authorization information, click submit to process the payment or reset to clear the form.
An answer regarding the status of the transaction will be returned by the Payment Gateway. Upon approval, you will receive a message with details about the transaction. However, if your transaction is declined, you will receive an email indicating so. Errors during processing or invalid data in your transaction will result in an error message.
If you are confused about these steps, you can check out Authorize.net’s training demo on YouTube.
Final Thoughts
A virtual point-of-sale terminal gives merchants a lot of flexibility in terms of payment processing by allowing them to accept in-person or online payments with minimum setup or hassle. Authorize.net’s virtual POS is an excellent choice for people that are already using them as their payment gateway, as there is no additional cost for the service. The only downside is that the desktop version is limited to Windows PCs, though they have an iOS mobile app.